Tutorial - Access Anthing Anywhere (X11VNC and Cloudflare Tunnels)
Hello everyone, welcome back to The Yay Company and today, we’ll be talking about installing and using a VNC server so you can access your servers remotely from anywhere. This tutorial will be useful for people who need to access their computer but can’t bring it to where they actually need it. Follow along below to install and use VNC’s.
Step 1: Install x11vnc
x11vnc is a VNC server that is robust and very customizable, it may take some time to get it to your liking but it is a very good choice for something like this.
Open the Terminal: You can find the Terminal in your applications or the shortcut
Ctrl + Alt + T.- Update the Package List:
1
sudo apt update - Install x11vnc:
1
sudo apt install x11vnc
- Set a Password for VNC Access:
1
x11vnc -storepasswd
Follow the prompts to set a password.
Step 2: Start x11vnc Server
Now, we will start the x11vnc server so you can connect to it from a VNC client from your LAN (Local Area Network).
- Run x11vnc: To start the VNC server, use the command:
1
x11vnc -display :0 -usepw -forever -repeat
-display :0specifies the display to use.-usepwenables password protection.-foreverkeeps the server running even after the client disconnects.-repeatallows repeated key presses to be sent to the VNC session.
Now, you can test the VNC server by going to a different computer and using a VNC client, like Remmina or RealVNC. Note: This will only work on computers that are all connected on the same network as the host of the x11vnc.
Also, Remmina is my favorite VNC client and I definitely reccomend using it.
Step 3: Install Docker (Cloudflare Dependency)
When we use Cloudflare Tunnels, we are going to be installing their server, “cloudflared,” using Docker so it doesn’t clutter our base system and it’s much easier.
- Uninstall Old Versions (if any): Sometimes old versions could be left in your OS so it’s a good idea to remove them.
1
sudo apt remove docker.io docker-doc docker-compose docker-compose-v2 podman-docker containerd runc - Setup Docker’s
aptRepository:1 2 3 4 5 6 7 8 9 10 11 12 13
# Add Docker's official GPG key: sudo apt update sudo apt install ca-certificates curl sudo install -m 0755 -d /etc/apt/keyrings sudo curl -fsSL https://download.docker.com/linux/ubuntu/gpg -o /etc/apt/keyrings/docker.asc sudo chmod a+r /etc/apt/keyrings/docker.asc # Add the repository to Apt sources: echo \ "deb [arch=$(dpkg --print-architecture) signed-by=/etc/apt/keyrings/docker.asc] https://download.docker.com/linux/ubuntu \ $(. /etc/os-release && echo "$VERSION_CODENAME") stable" | \ sudo tee /etc/apt/sources.list.d/docker.list > /dev/null sudo apt update
If you use an Ubuntu derivative distro, such as Linux Mint, you may need to use
UBUNTU_CODENAMEinstead ofVERSION_CODENAME. - Install Docker Packages and Plugins:
1
sudo apt install docker-ce docker-ce-cli containerd.io docker-buildx-plugin docker-compose-plugin
Now, you should have successfully installed Docker officially on your system, to verify that it works, you can run sudo docker run --name test hello-world to pull a hello-world container from the Docker Hub and visit it in a browser. To delete the container, run sudo docker rm test.
Step 4: Route x11vnc Traffic through Cloudflare Tunnels
Finally, we have everything ready and in place to do the last step, creating a Cloudflare Tunnel to route our VNC traffic to the web. If I wasn’t clear before, you will need a working domain name on Cloudflare so you’re able to put it out into the WWW.
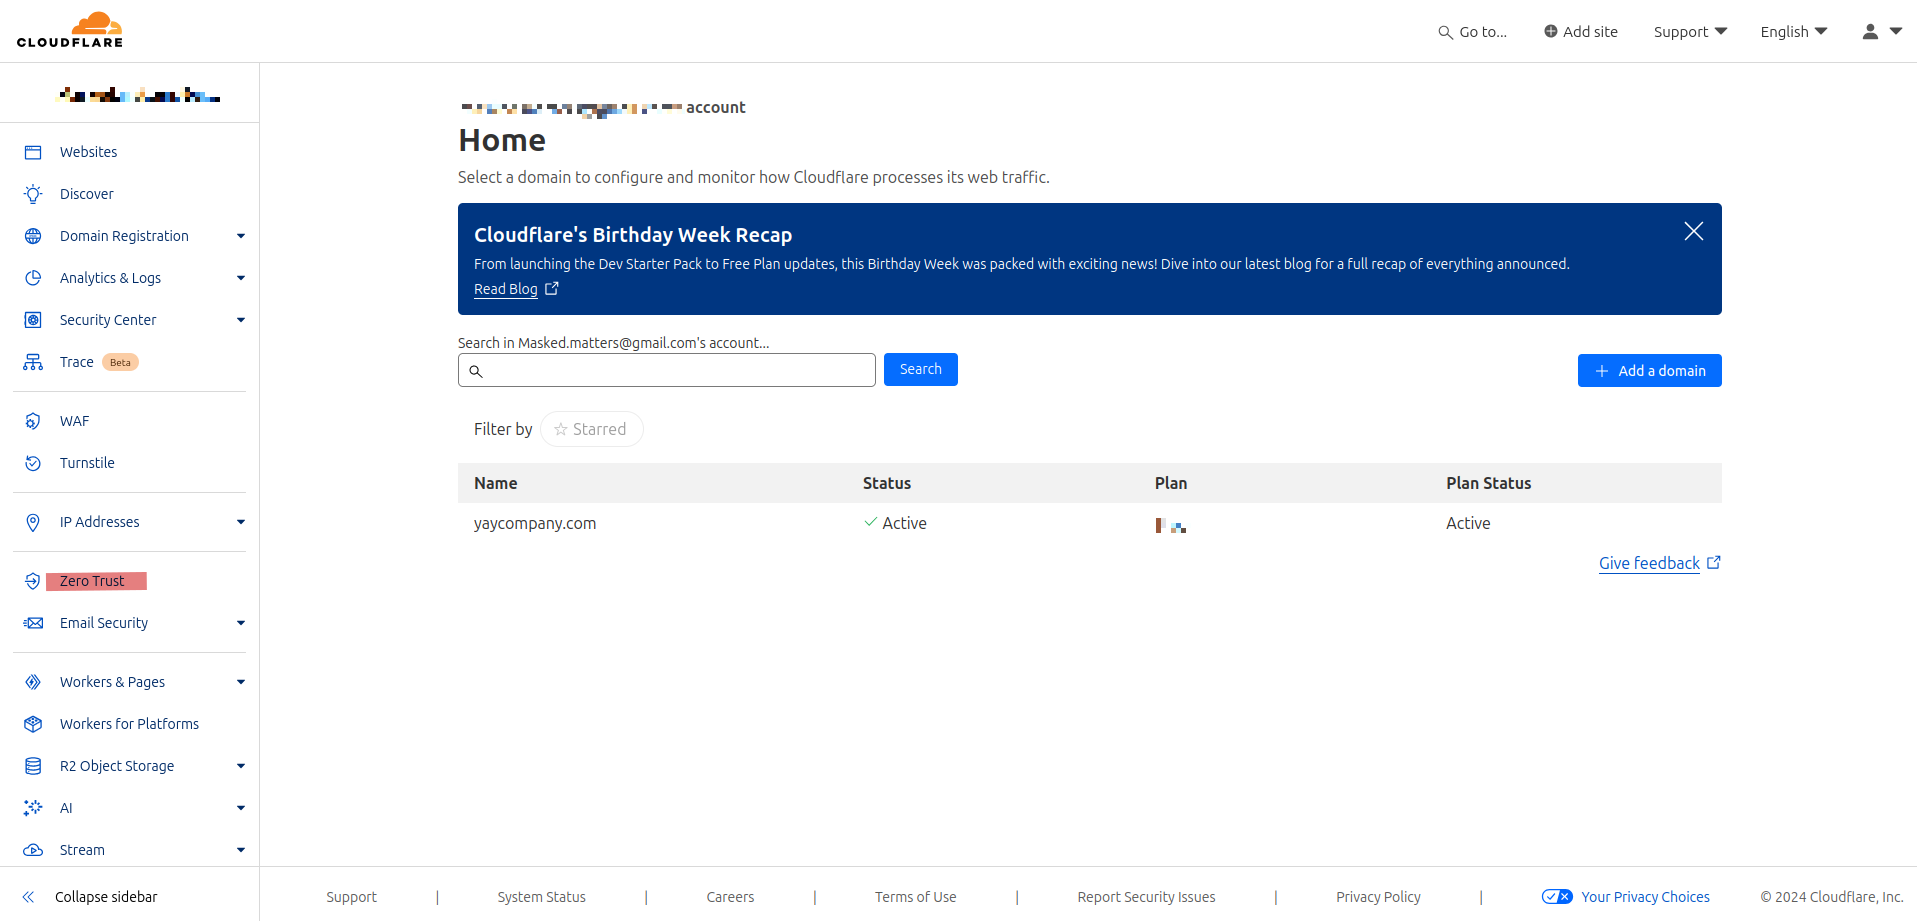
Login to Cloudflare Zero Trust: Go to Cloudflare and login to your dashboard. In the tab menu on the left-hand side there is a button that says, Zero Trust, click on it.

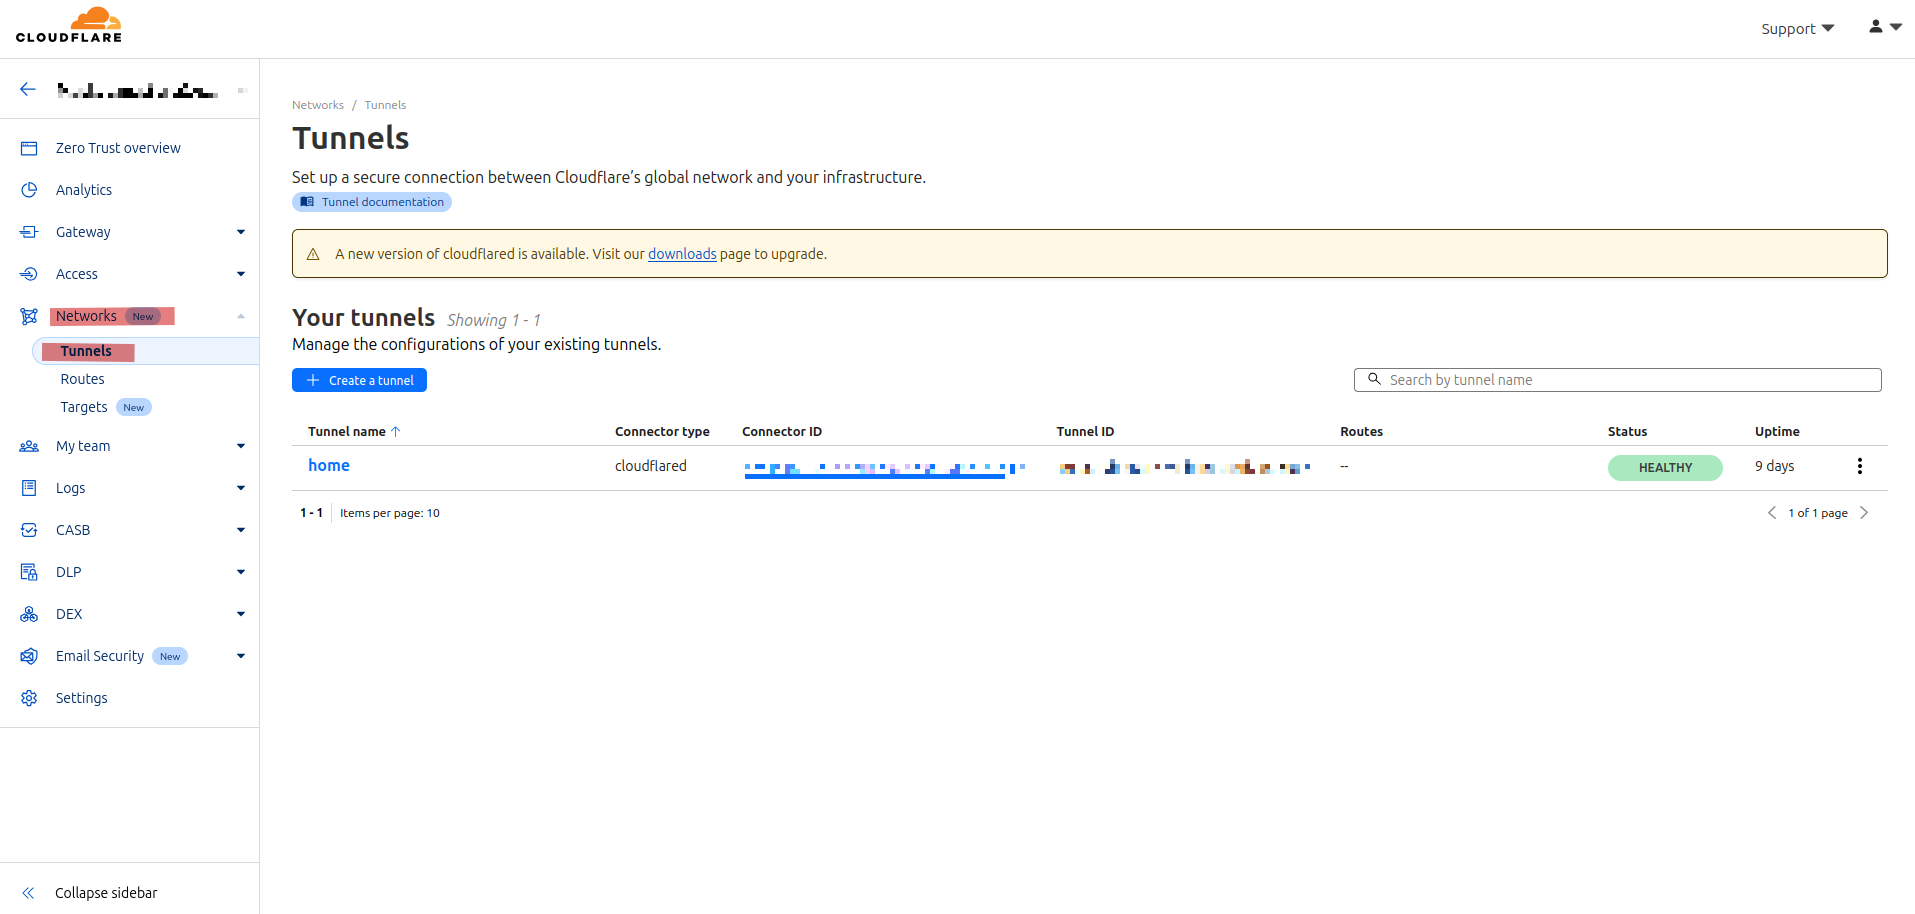
Locate the Networks (Tunnels) Tab: There will be a different left-hand side tab menu that should say Networks and under that dropdown should be another button that says Tunnels. Click on that.

Creating a Cloudflare Tunnel: Once you’ve pressed the “Tunnels” button, you can now press the blue one that says Create a tunnel. It will bring you through a Tunnel wizard where you can follow the steps on creating it. Once you get to the connector part, press Docker and follow the steps. On the last page, create a subdomain that is good for your setup, fill everything else out, make sure to press TCP for the protocol.
That’s it, you’ve installed a VNC server and routed it through Cloudflare Tunnels. You should now be able to connect to your Linux machine using a VNC client through your own domain name from anywhere in the world.
Enjoy!
Byeeeeeeeeeeeeeeeeeeeeeeeeeeeeeeeeeeeeeeeeeeeeeeeeeeeeeeeeeeeeeeeeeeeeeeeeeeeeeeeeeeeeeeeeeeeeeeeeeeeee!